Solid wood flooring UK by easy step flooring tips, Property floor guide, Home material style advice
Solid Wood Flooring UK by Easy Step Flooring
7 December 2022
A natural look solid wood floor has a certain charm. Natural wood’s beauty rests in its limitless and unique variations in knots, textures, and colour. Your floor will be unrivalled once these are completed. Special knots and splits are extremely prevalent, and these flaws add character! Compared to a lacquer finish, an oiled finish emphasizes the natural look; the more translucent the colour, the more texture is seen.
Our natural look, solid wood flooring UK with installation service, is designed to exceed industry standards and provide remarkable outcomes. In addition to the standard solutions, we have developed our own unique ways. The following is a description of a comprehensive fitting service.

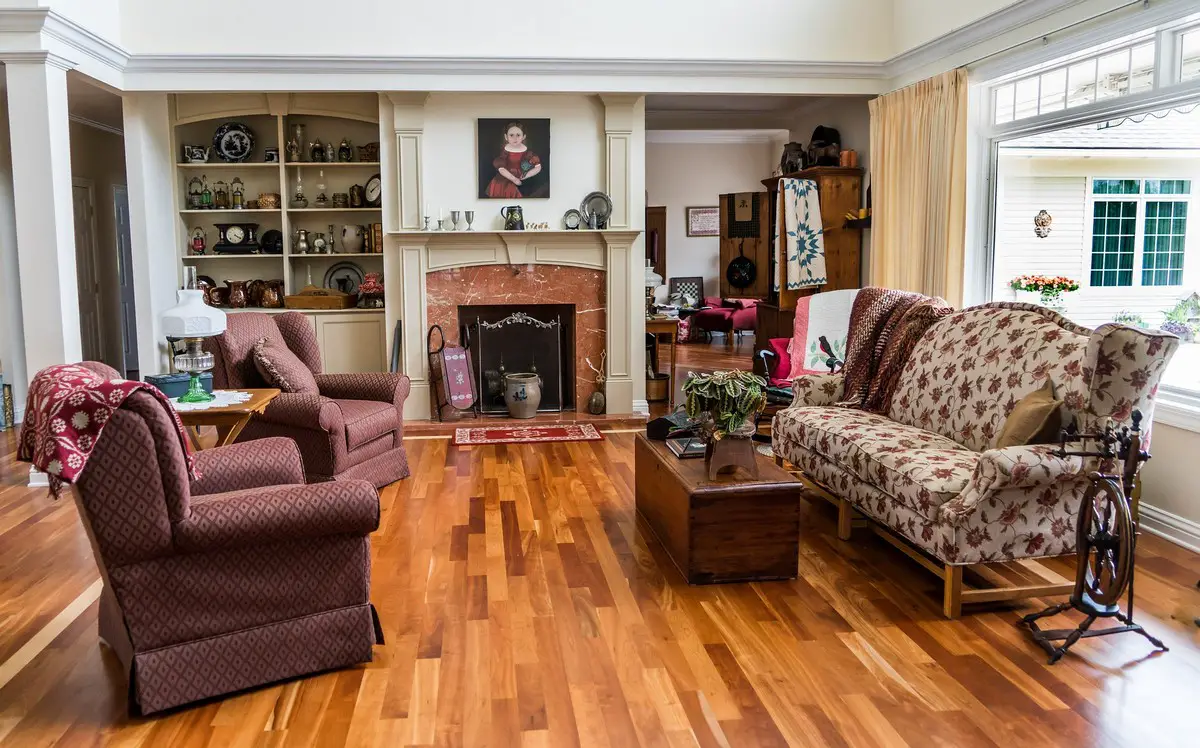
Furniture
We are frequently required to work with larger furniture objects around us. Indeed, this necessitates extra caution on our part, so we strive to stack the lighter goods over the heavier ones and move them to the safest spot feasible. Polyethene dust sheets are used to protect furniture, fireplaces, built-in cupboards and shelves, and so on.
Sub-floor types and checking
For a solid wood flooring installation, the subfloor, particularly its condition, is as vital as the foundation is for a building. Before beginning work and after removing the current covering, a thorough inspection is performed (if it is the case). There are two types of subfloors: wooden and mineral. The mineral subfloors are typically screeds and are built of pine boards, chipboard, or plywood.
Existing covering removal
A few floor coverings can be considered sound sub-floors for installing a new hardwood floor. The most commonly encountered are carpets, laminate flooring, vinyl, ceramic tiles, and ancient floating or glued timber floors. We select the most appropriate removal procedure for each of these to minimize subfloor damage.
Sub-floor checking and preparation
Many people overlook and underestimate this stage, but its failure means the failure of the new natural look solid wood floor. On each project, we take our time and insist on dealing with this stage correctly. So, we have a lot of hazards to deal with: wet floors and walls, rotten joists and boards, cracked or missing boards, loose screeds, uneven screeds, and so on.
If the desired surface for a hardwood floor is constructed of screed or concrete and is located on the ground level or lower, we strongly recommend that a liquid DPM (damp proofing) be rolled all over the surface. The odds of wet infiltration during the lifespan of your solid wood floor are relatively noteworthy, so why not be safe? This is also true for recently completed screeds with residual dampness.
All loose or creaky boards on wooden flooring will be fastened. If we uncover a structural concern, we will address it if it is local; otherwise, this may necessitate further work from a building business.
Soundproofing
Now that the subfloor is entirely accessible, we can work on soundproofing or impact sound reduction.
Skirting removal or undercutting
Once the subfloor has been thoroughly prepared, the skirting will be undercut or gently removed to avoid as much damage to the upper part of the wall as possible. Because of our specialized equipment, the undercutting process is entirely accurate, providing a far better joint with the novel floor than replacing it with new skirting.
Doors and doorframes
The doorframes will now be undercut, allowing the new hardwood boards to be placed precisely beneath. The doors must also be adjusted because the additional floor height will prevent them from moving. As a result, they must be removed, trimmed to the proper height, and hung back.
Setting the alignment and the beginning board.
This is another essential step in which we take time to get all measurements correct. All of the data is calculated and analyzed, and the best answer is selected. We can now cut the first board. If this one is correct, the entire floor will be correct at the end. Typically, the floor will be aligned with the natural source of light.
The objective of this method is to create a symmetrical floor parallel to all the walls. Indeed, due to the configuration of the walls, corner angles, and wall curvature, we are unable to reach our goal on all sides. As a result, we measure from several angles to guarantee that the most visible sections look the way you want them to.
Fitting the solid wood floor
After all of this preparation, it’s time to begin installing the floor. We lay the underlay or begin distributing the glue according to the agreed-upon fitting procedure. We have prepared the beginning board and will build the floor from it. The boards that tend to bounce up and down will be further fastened. Expect some resilience if the floor is installed floating. As a result, we strongly advise using the glued-down method (with flooring adhesive). The expansion gap will also be considered all around the periphery when fitting.
The end joints are a distinguishing feature of our handcrafted floors. A lot of thought is put into this detail to avoid having any two of them close or complete a row with a small piece of board.
We hope you now understand better how to choose natural-looking solid wood flooring with easy step flooring.
Comments on this guide to Solid wood flooring UK by easy step flooring article are welcome.
Building Tours Selection
British Architectural Walking Tours

Danish Architecture Walking Tours
Dutch Architectural Walking Tours
Comments / photos for our Solid wood flooring UK by easy step flooring advice advice article welcome